
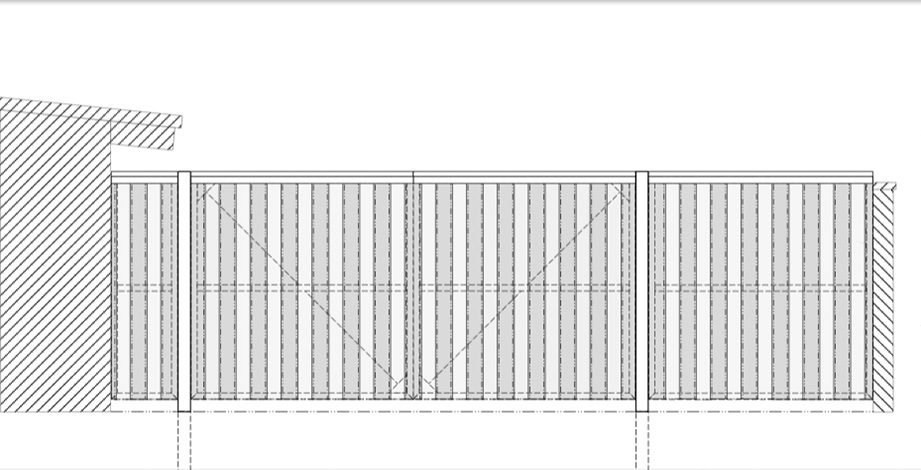
The driveway to the back of my Arminta property was a hideous mess and needed to be replaced. Christopher and I developed a plan and tackled the project over a few weeks. Christopher came up with a web site with some affordable gate actuators and accessories. After some discussions about design, Christopher came up with a design (shown below) and started construction. He did most of the work and I provided the money.
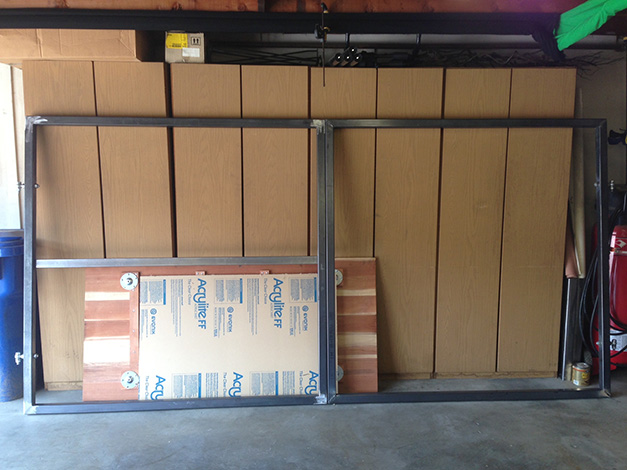
After some initial fabrication at Christopher's shop, the gate frames were brought to my shop for some welding and then back to his shop.
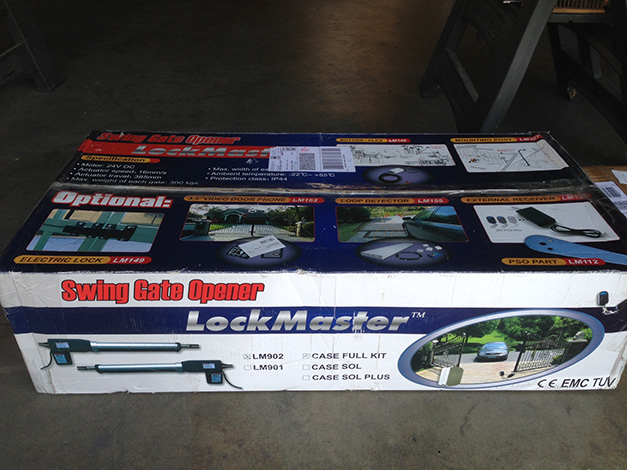
This is part of the gate opener kit.
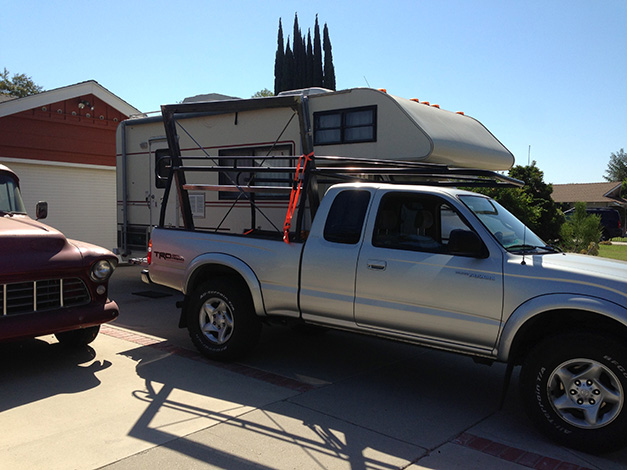
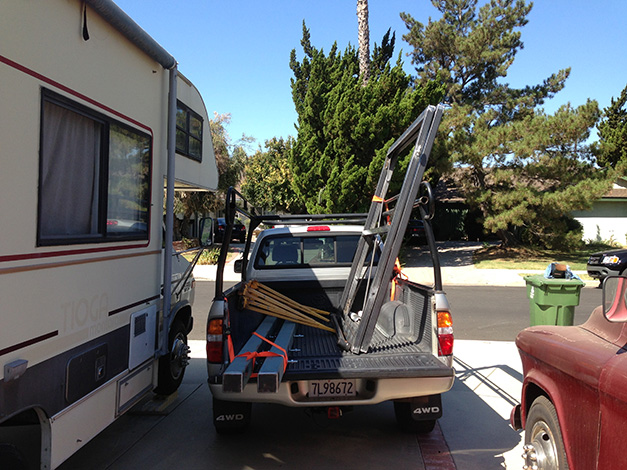
The gates loaded onto Christopher's truck.
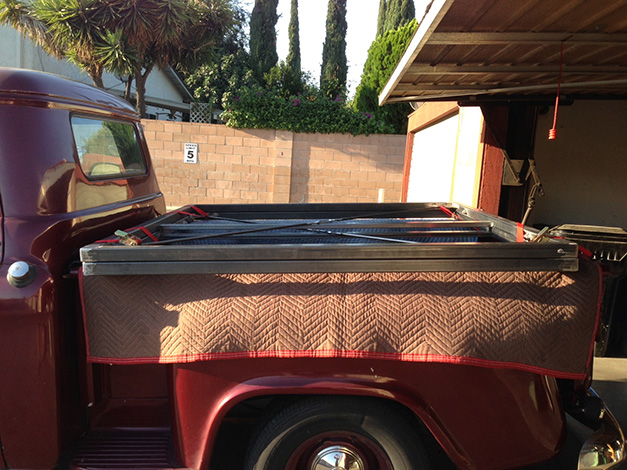
Another view.
And yet another view.
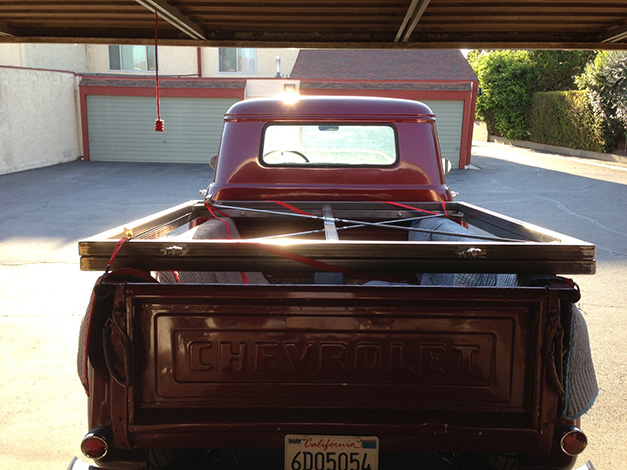
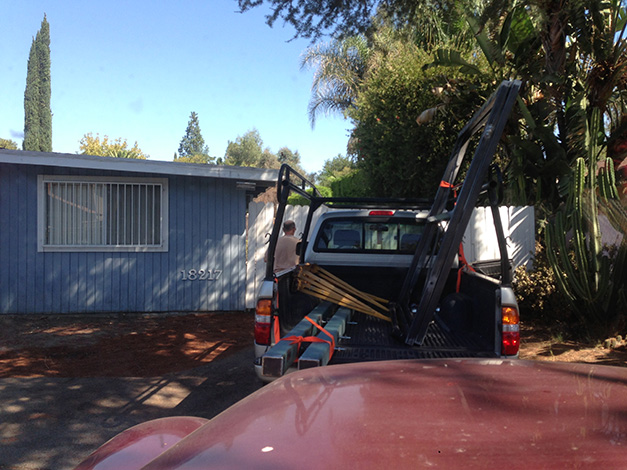
Christopher really liked the documentation process. He's at my shop to deliver the gates. We needed to do some other work on the posts. We packed everything up in my truck when that was completed.
Posts are now completed and the whole gate package is loaded and ready for transport.
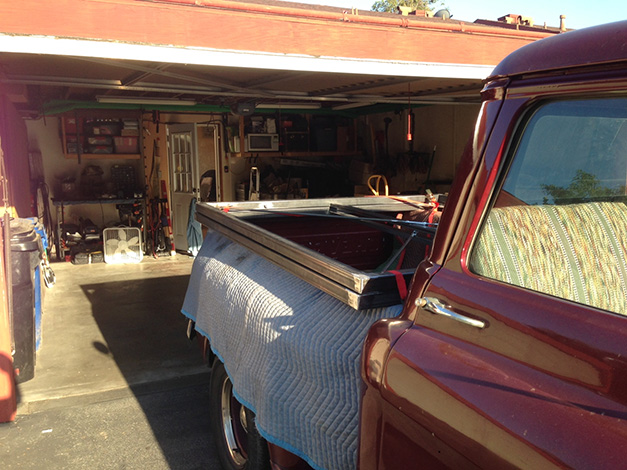
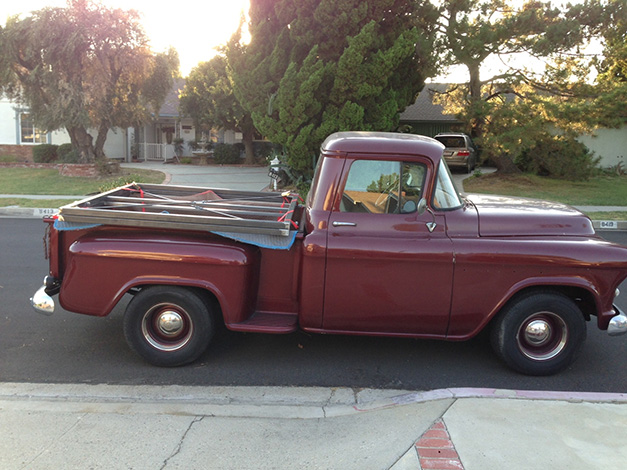
Another view. By the way, that's my truck on the right, not Christopher's. His is a '55 and mine's a '56. Big difference.
Didn't I say that Christopher liked the documentation process? Here we are ate the old gate. Christopher's truck is carrying the wood that will be attached to the gate frames.
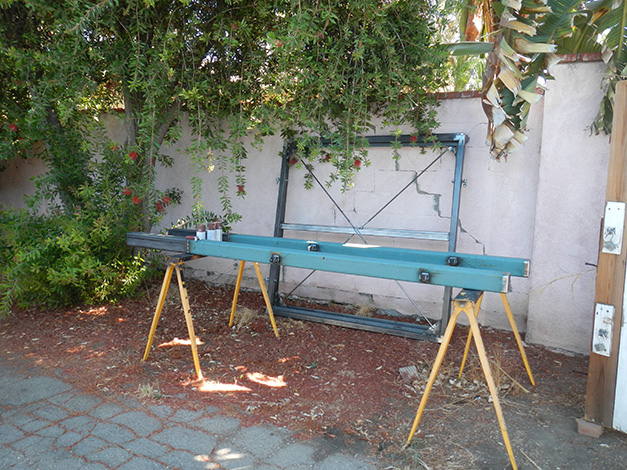
Staging area inside the existing gates. The posts were part of the welding we did at my shop. We added a couple feet of tube, capped the tops, welded a few studs to hold the wood frames for the fence portion and attached the hinges.
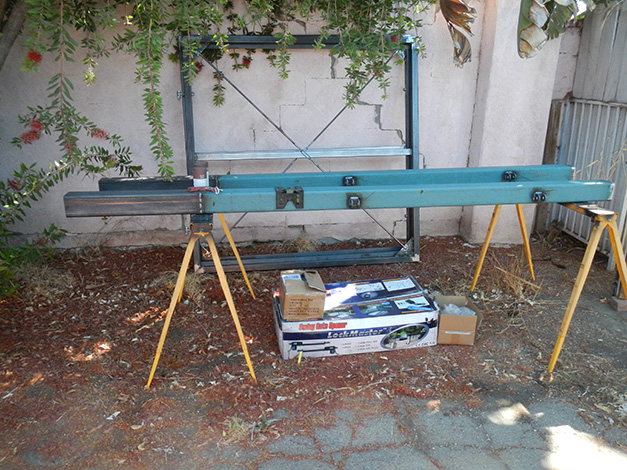
Collection of parts. Part of the existing gate/fence is on the right.
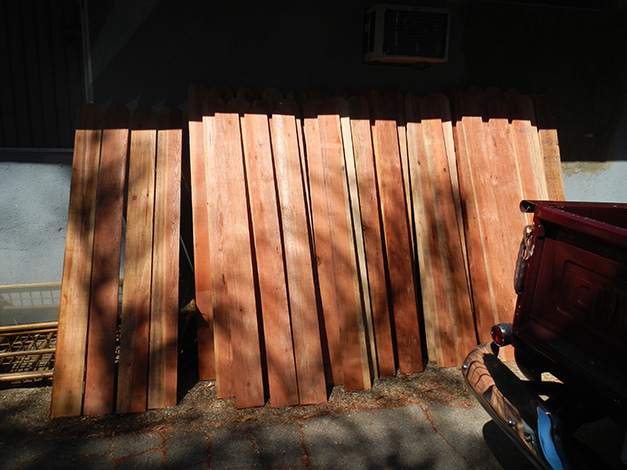
Redwood fence boards drying out.
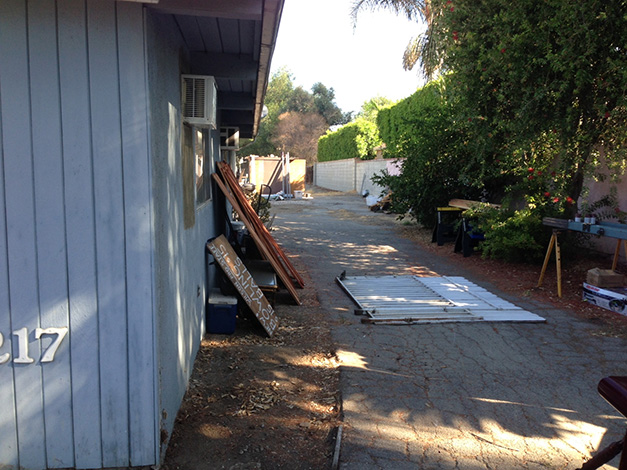
Christopher demo'd the old gate/fence and set them up temporarily about 6' behind where it stood.
The gate/fence ready to be relocated.
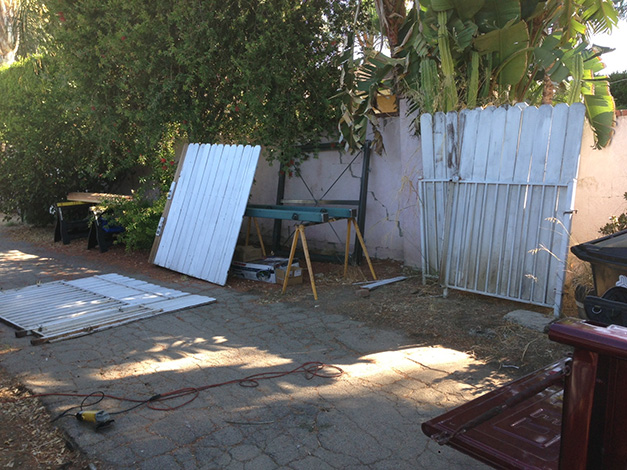
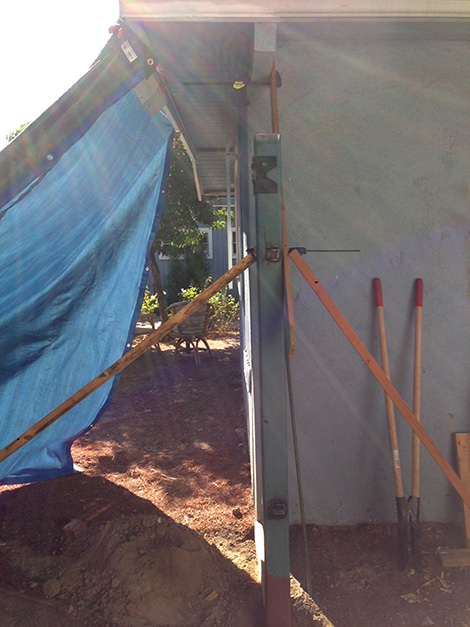
The temporary gate/fence being installed.
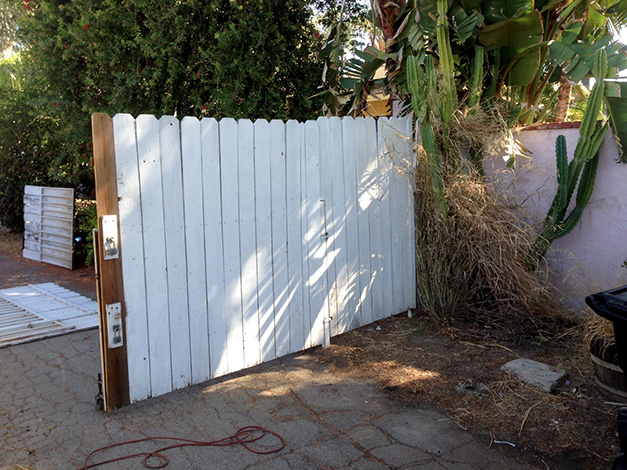
The temporary gate/fence installed.

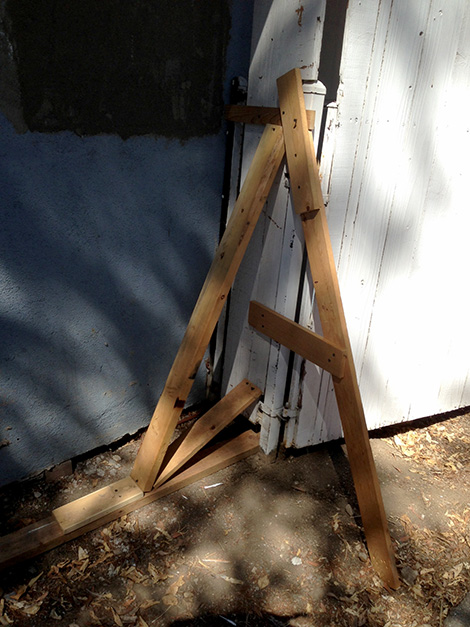
Temp gate/fence support.
The first post hole.
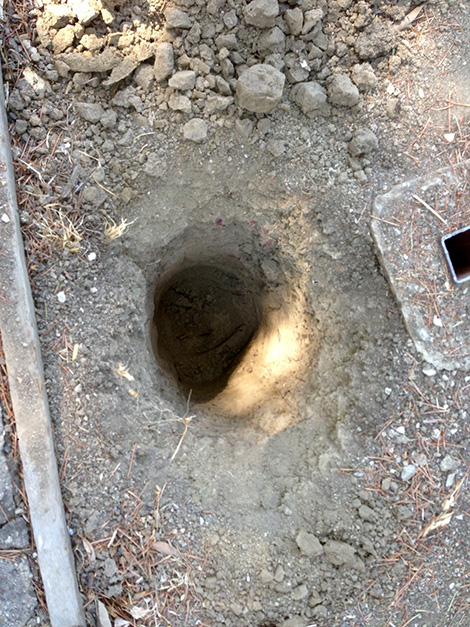
A full 36" hole.
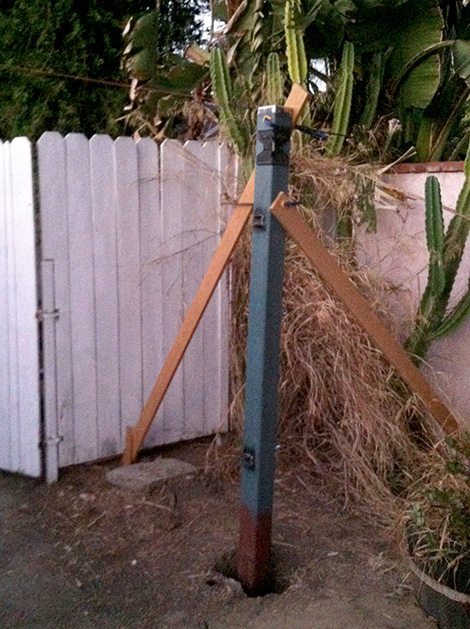
First post ready for concrete.
First post set.
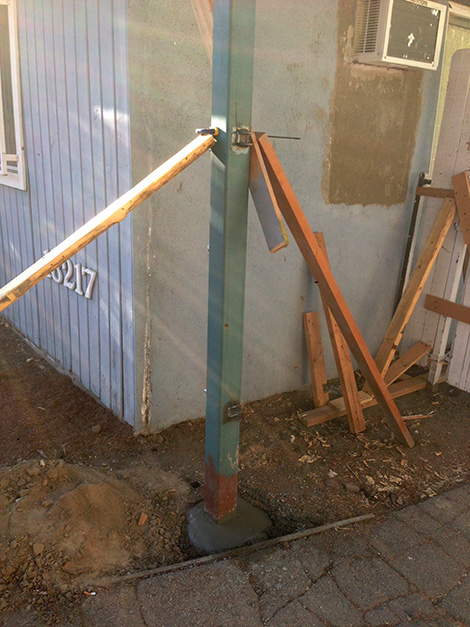
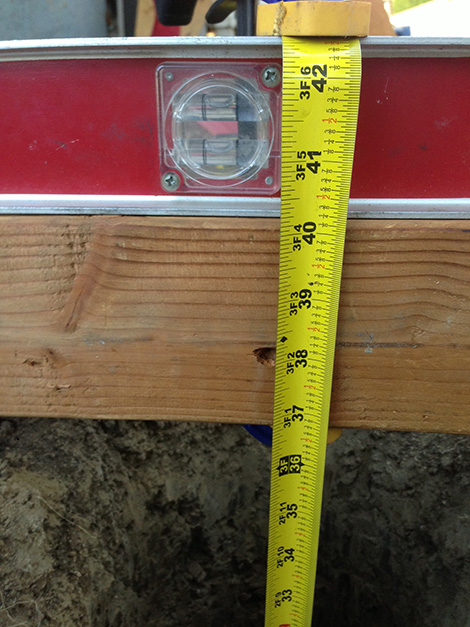
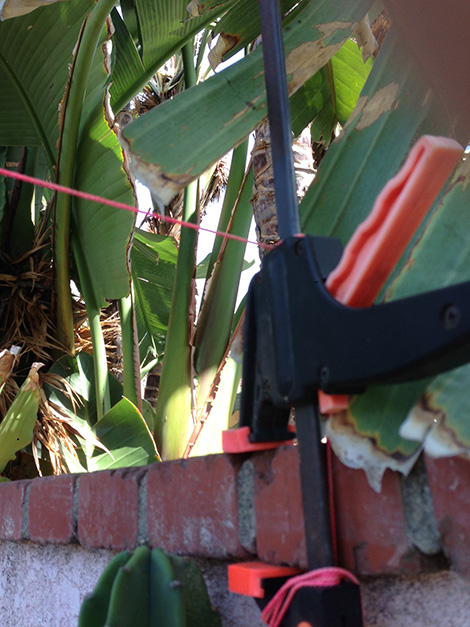
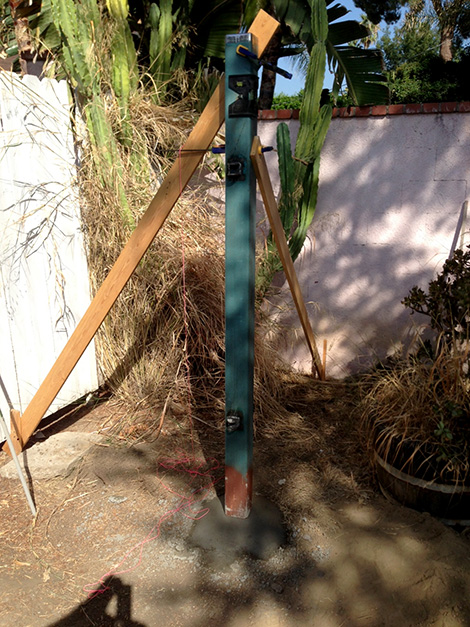
Red mason line showing eventual gate/fence height.
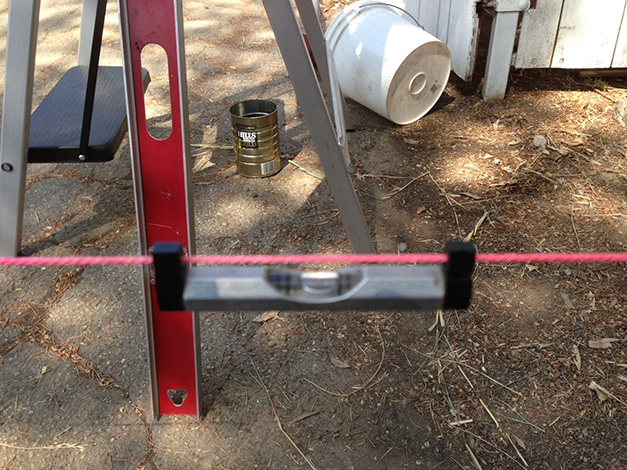
Within tolerance.
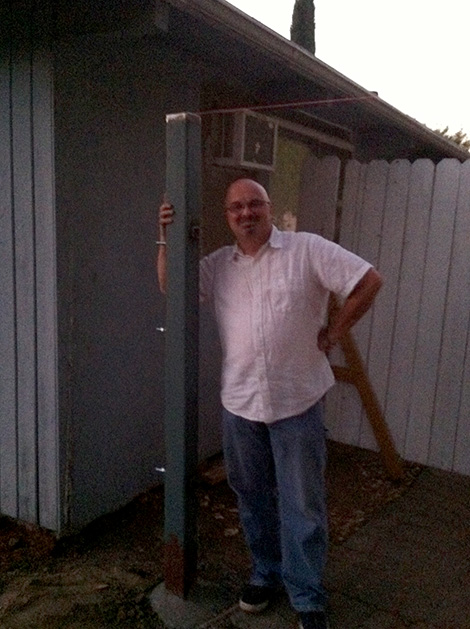
Christopher and the first post. He's very proud.
The second post ready for concrete.
Second post with concrete.
Starting to build the short section of fence butting up against the house.
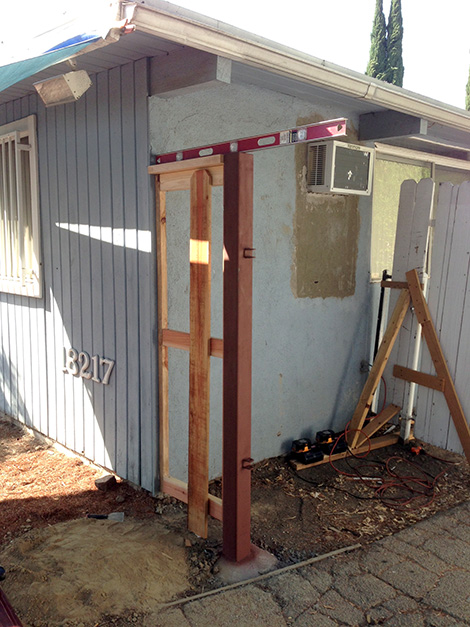
The short fence section finished.
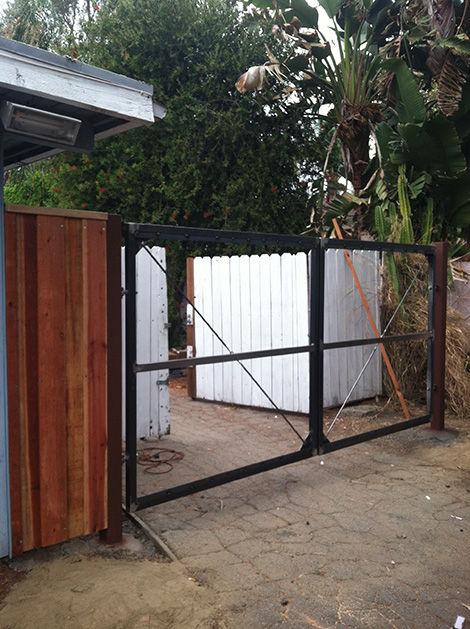
Test fitting the gate frames. We still had to paint the posts.
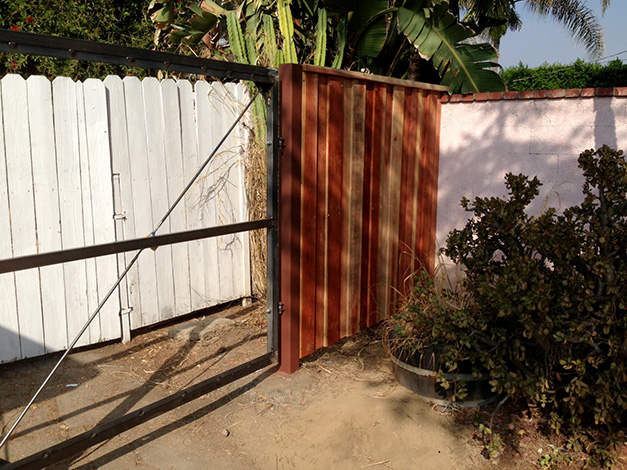
The larger section of fence finished.
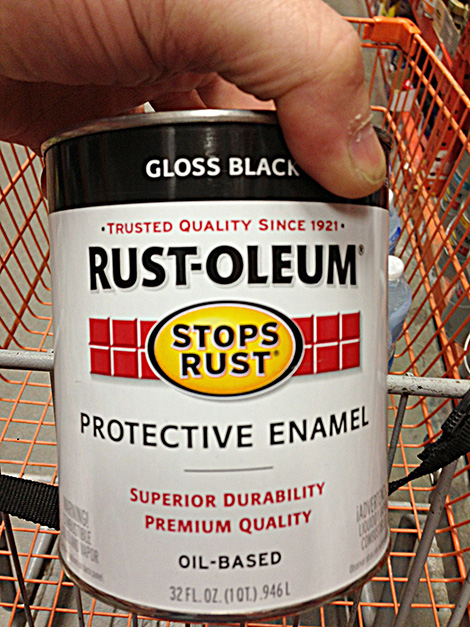
This is the paint we used for all the steel posts and framing.
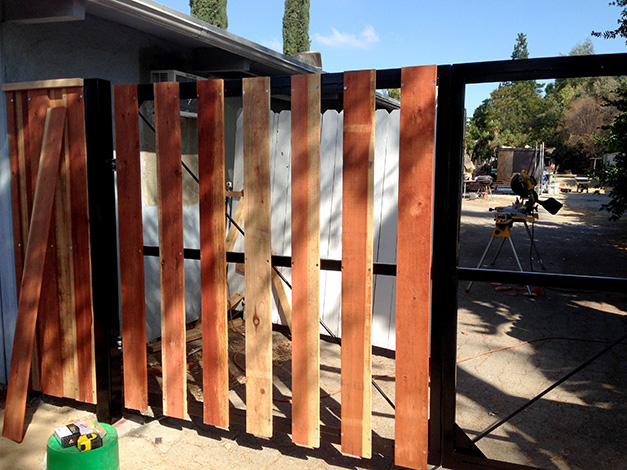
Starting to attach the wood on the gate frames.
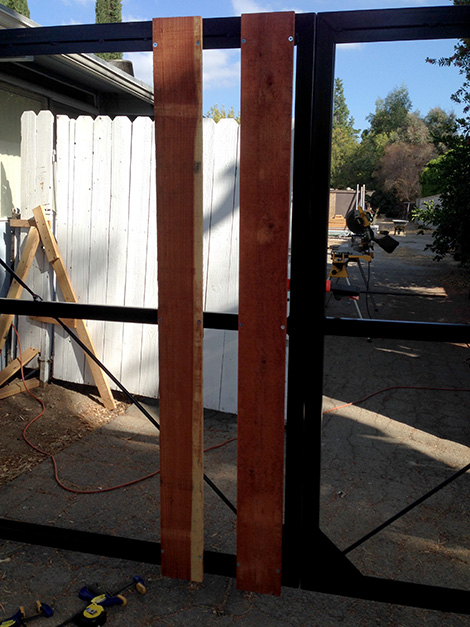
Christopher was careful with his board placement.
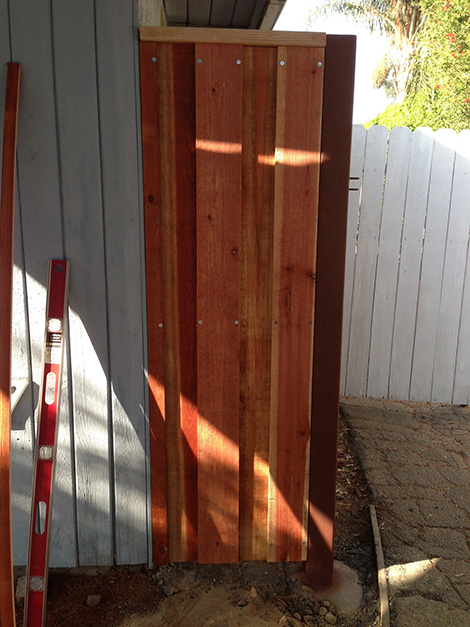
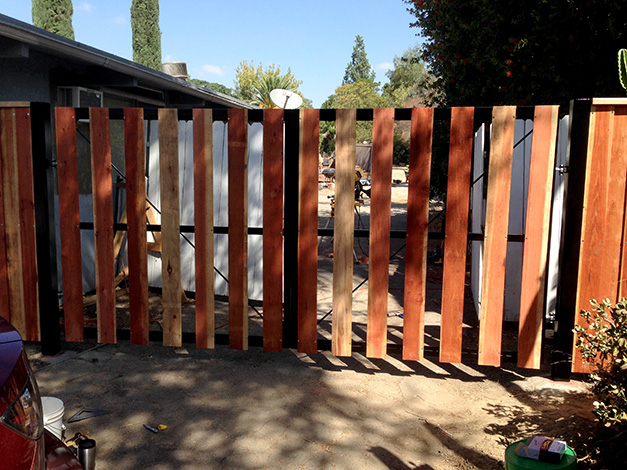
The first layer of boards installed.
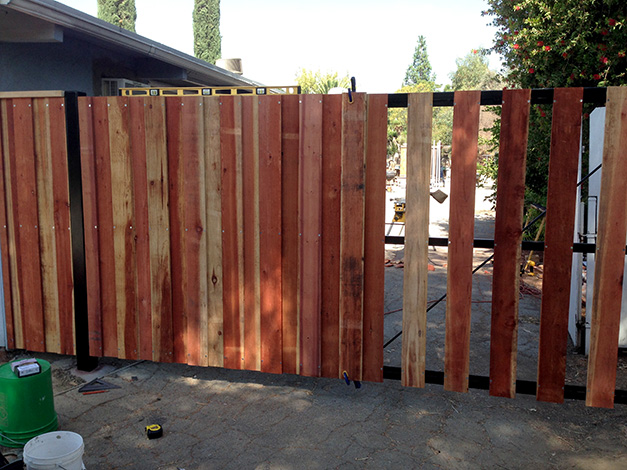
The west gate with the second layer of boards installed.
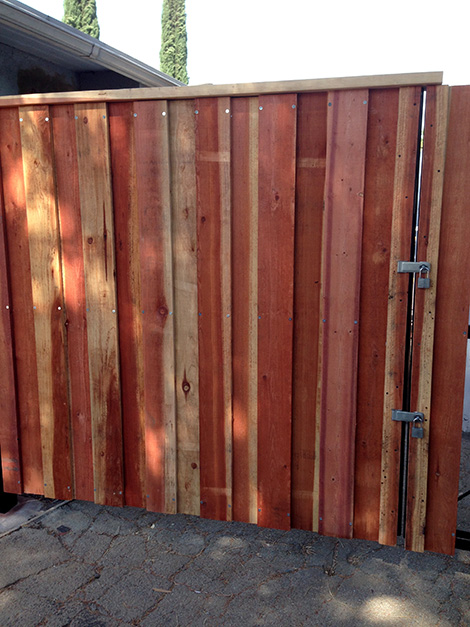
Working on the top trim for the west gate. Note the temporary locks. When we installed the actuators, these were removed and the boards were replaced.
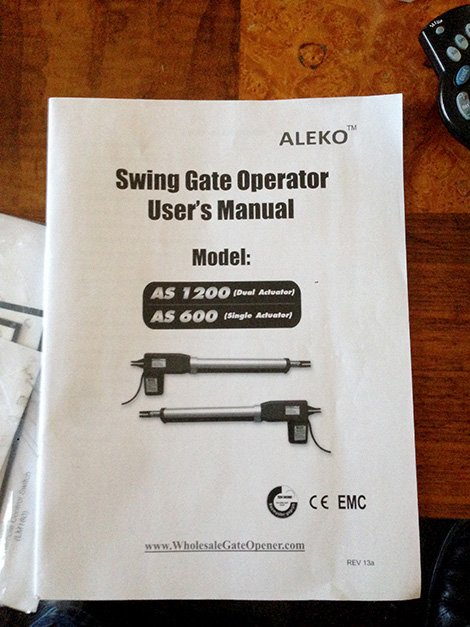
The owner's manual for the actuators. Unfortunately for us, it's not for our model.
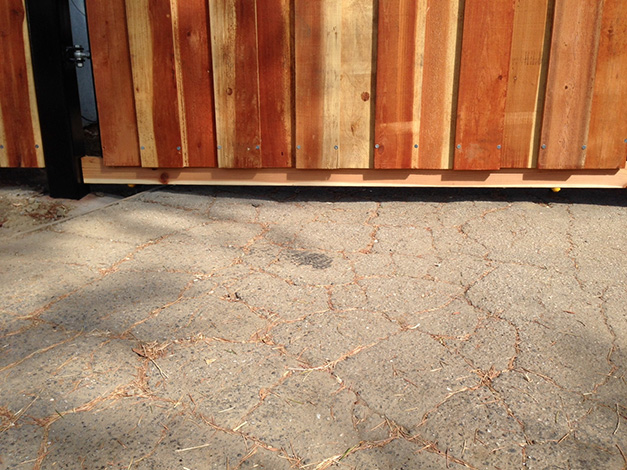
Because the gap between the gate and the driveway was rather large, we decided to add some wood to the bottom of the gates.
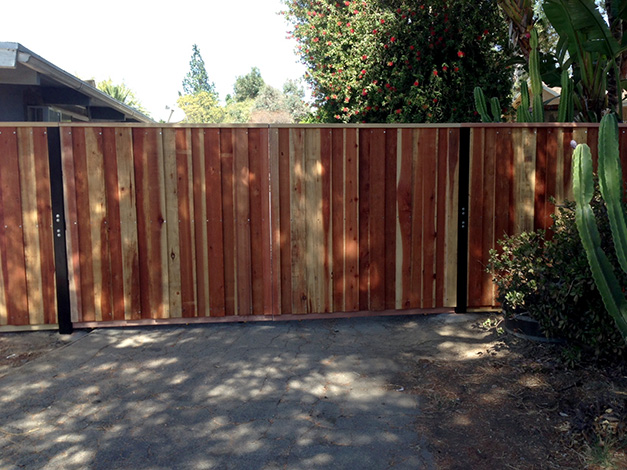
Finished project. Since this photo was taken, we added the actuators, the control panel, the solar panels, the battery back up, the wired keypad, the wireless keypad and the loop detector which senses a car approaching and opens the gates automatically. That feature is nice when it rains.
| Arminta Gates |
| Collection of: Artist Northridge, CA |
| 2013 19' x 6' |
| Steel, wood, paint and hardware |