
My living room fireplace was screaming out for a change and I was willing to honor it's desire. Thinking it was a fairly reasonable effort I knew it was a long term project - due to my time constraints and an elbow injury. The first step was the demo of the existing stone work and debris removal. Sorry, no photos of the original look nor the demo process.
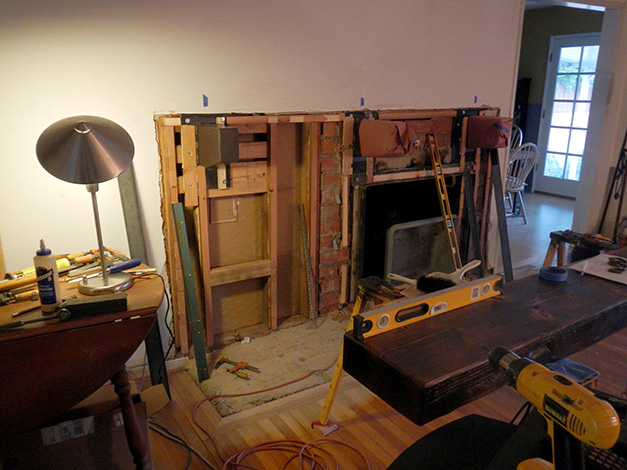
Because the original fireplace was built by a crew of tract home builders, level and plumb was rarely a concern. Therefore, it took some time to establish mounting points and a set of parallel planes. In fact, about half the time it took to build this fireplace was in observation and measurements.
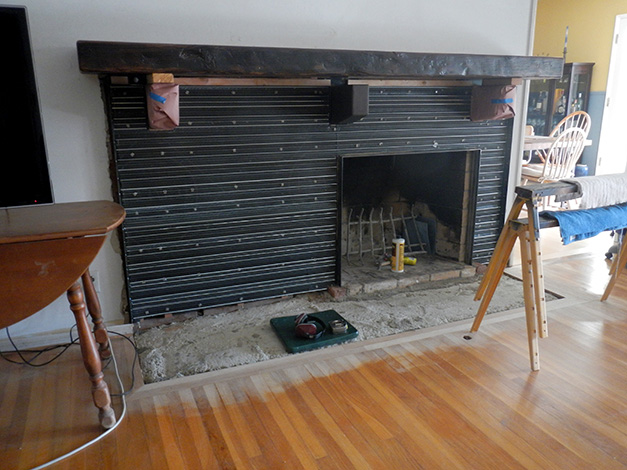
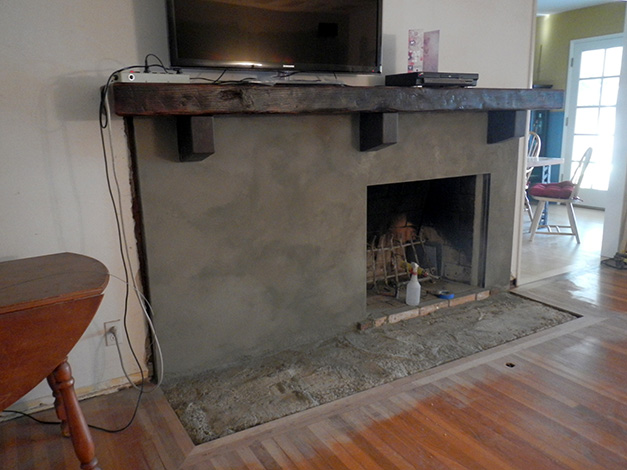
The first photo shows the steel corbels installed on a carefully prepared plane. These were welded from 1/8" thick mild steel and the aged (rusted) before finishing with urethane. You can see the mantle in the lower right. It was a hugh structural beam given to me by Bob and Lynn Bassler. It came from their home and not needed after a remodel. My friend Christopher Grandel took on the task of milling it straight and cutting it to length. I then distressed, stained and coated the beam also with urethane.
Captions appear above each photo.
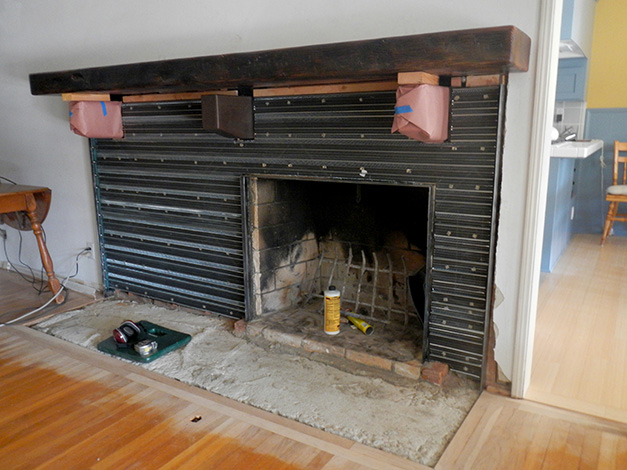
Another angle of the corbels installed. All the wood framing surrounding the fireplace is one one plane now.
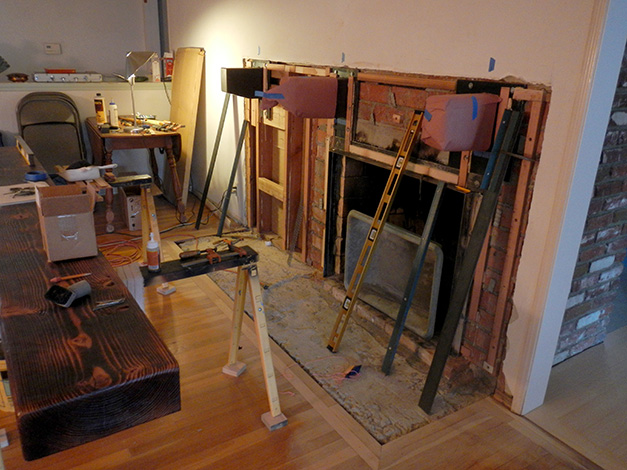
The next step was to attach the steel framing the the outside edges and inside the fire box. Afterwards, a sheet of plywood was installed. The area between the steel framing was slightly less than a full sheet of plywood. The mantle was temporarily placed to check clearances.
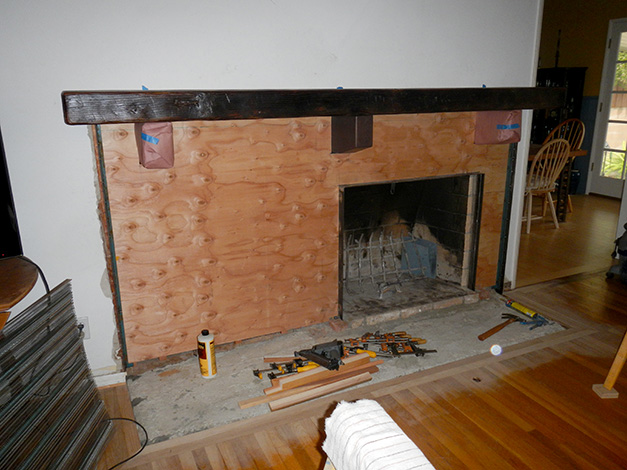
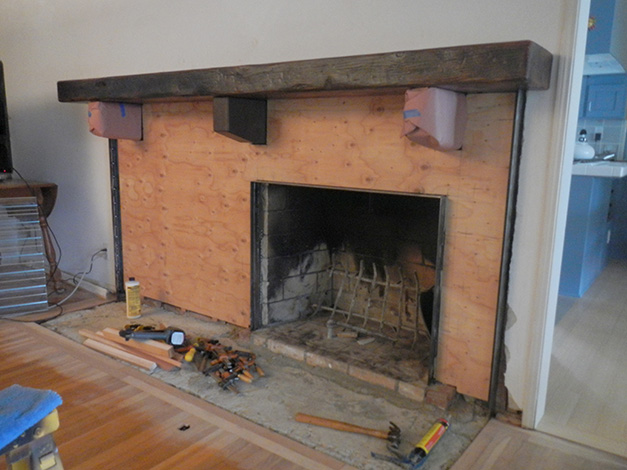
Another angle. Note the different floor color. I figured it was a perfect opportunity to sand the wood to the edge. As part of the remodel, the rest of the floor will also be refinished.
The stucco lath is installed and the site is prepared for the first layer of stucco.
Another view. The wood spacers were removed prior to succo and the mantle was glued in place.
The first layer of stucco applied. The blue tape is my depth guide

Another view. You can see some of the distressed look of the mantle.
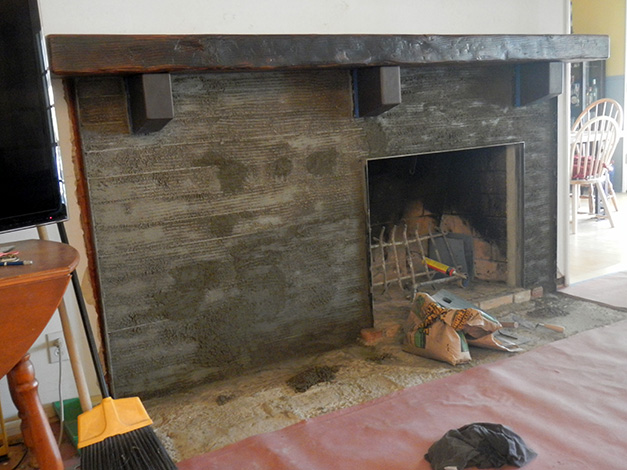
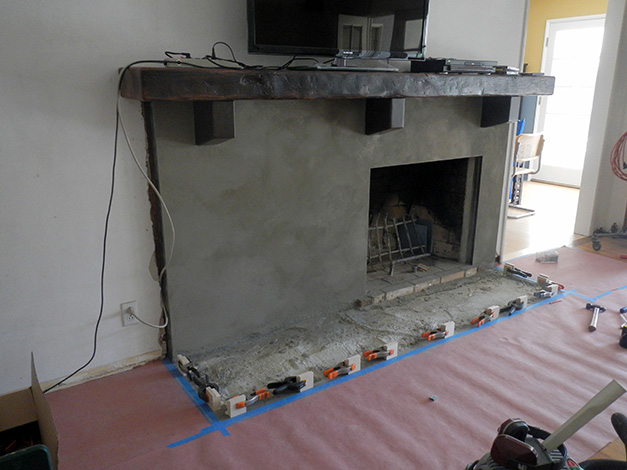
Obviously I'm missing a number of steps. A total of three coats of stucco was needed to fill to the level of the steel framing.
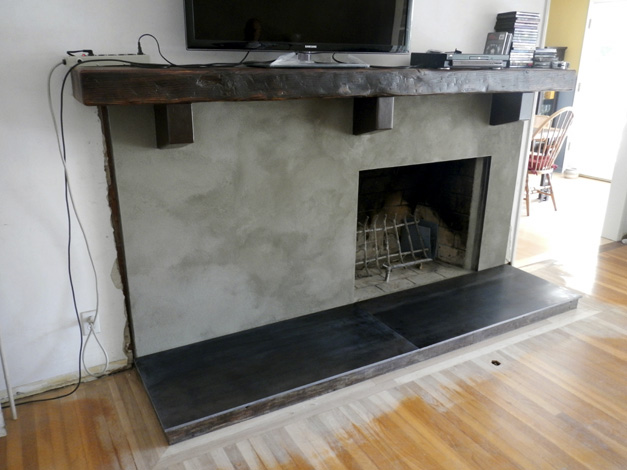
Another view of the finished stucco. I wanted a smooth, steel troweled look. The mottled look was a bonus.
You can see the spacer blocks used for placement of the permanent blocks which were glued and screwed into the concrete hearth support.
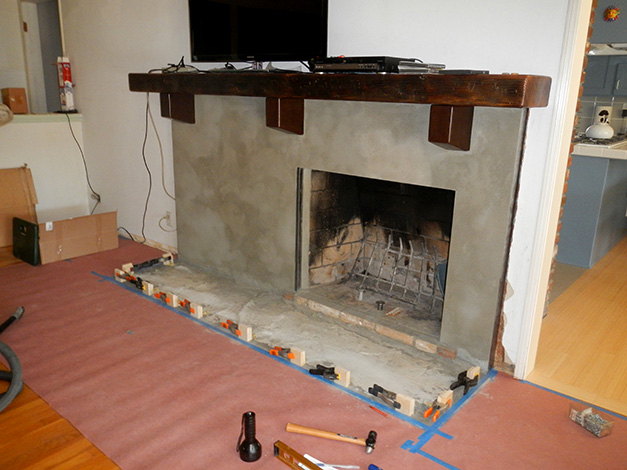
Another view.
A few steps more steps not documented and you see the outer wood frame installed. The interior was filled with concrete to the leve of the wood frame. The wood frame (redwood) is reclaimed sub floor from the dining room seen at the lower right and is not stained but merely urethaned.
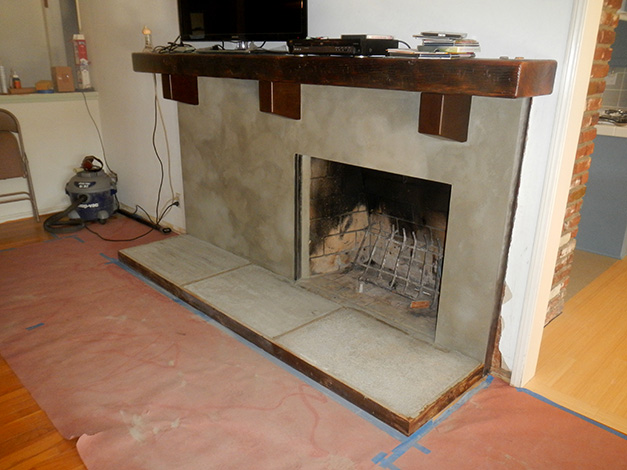
Another view. The interior wood strips were used for screed purposes.

The first sheet of steel is placed on the hearth. It's 1/2" thick and very heavy. I left it raw and over time, it will lose it's raw cut edges. I may hurry the process some time later.
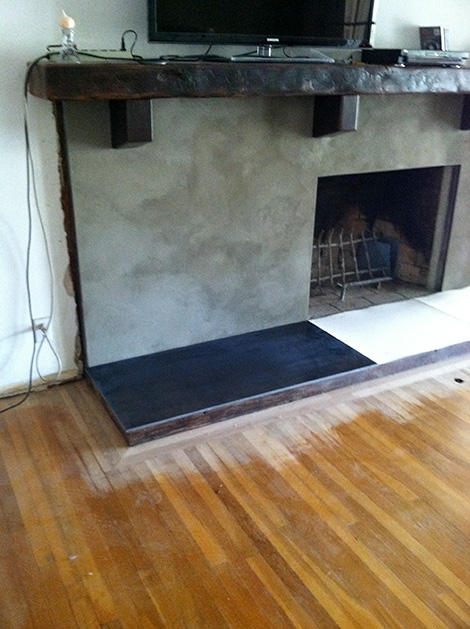
The second sheet installed. Bothe these were placed but not glued into position yet.
Another view.
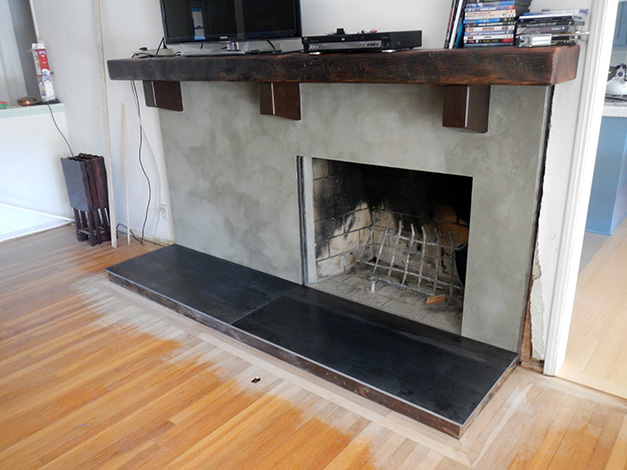
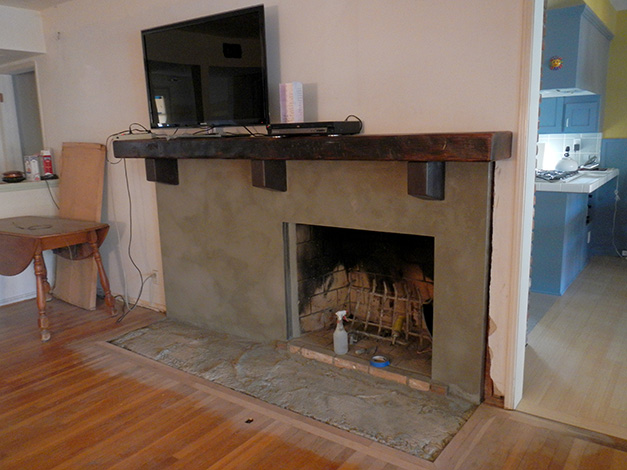
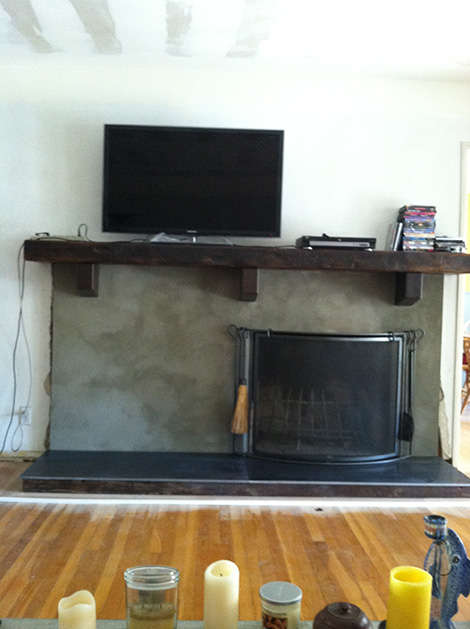
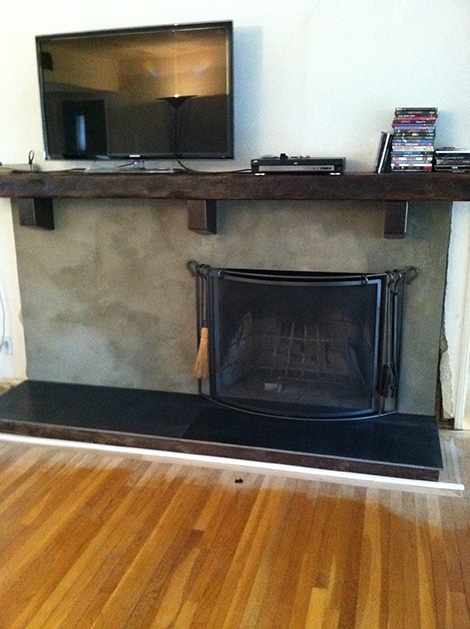
A head on shot showing a temporary screen in place. The ceiling is in process of being finished.
Another shot. Another angle.
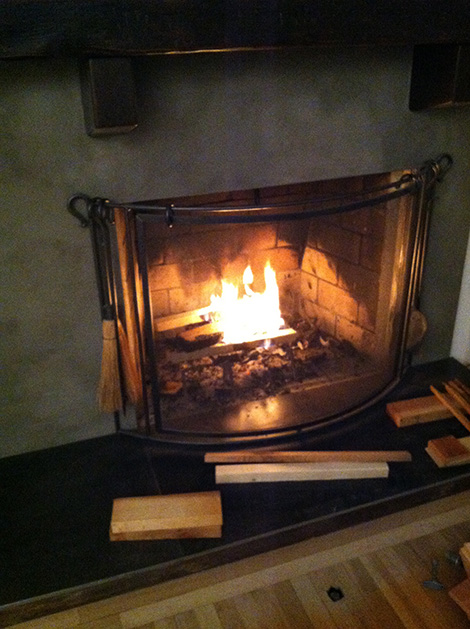
The first fire in the newly remodeled fireplace.
| Fireplace Remodel |
| Collection of:
Artist Northridge, CA |
| 2010-13 10' x 5' x 14 " |
| Old wood beam, steel , stucco, reclaimed redwood sub-floor |