
This is the first time I've captured my creative/fabrication process in photos. These images describe the amount of work involved in making my dining room light. I've had this idea for many years but only recently finished collecting the warehouse reflector pans needed. Thanks to the Basslers for rounding out my collection.
This project took 118 hours to complete (from the first to last photo) and about $50 worth of paint and supplies (exculing light bulbs and dimmer switch).
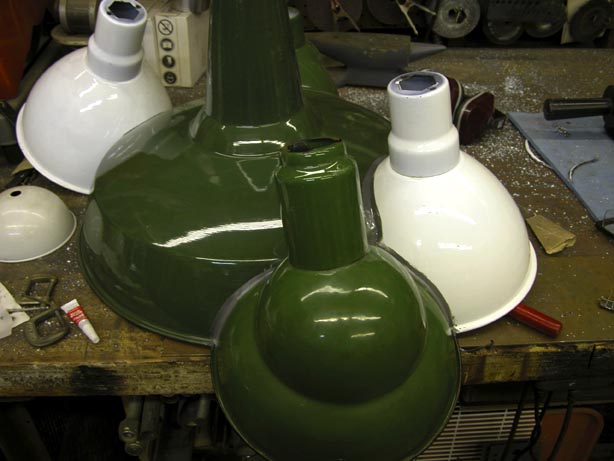
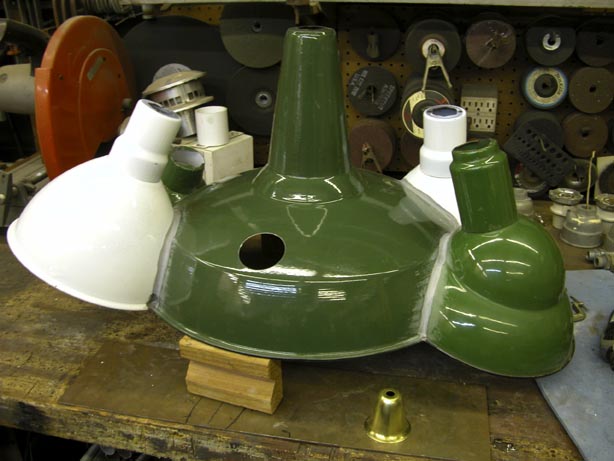
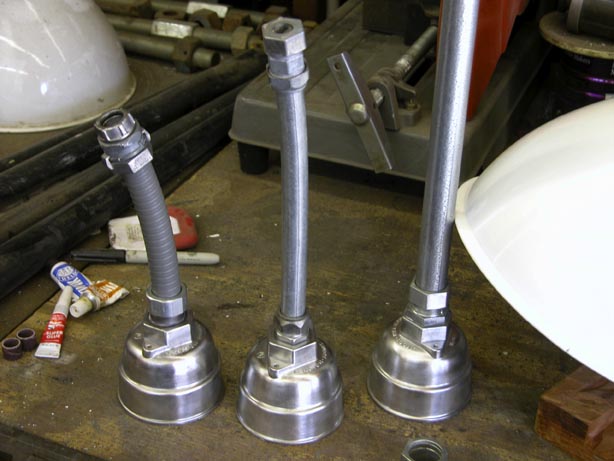
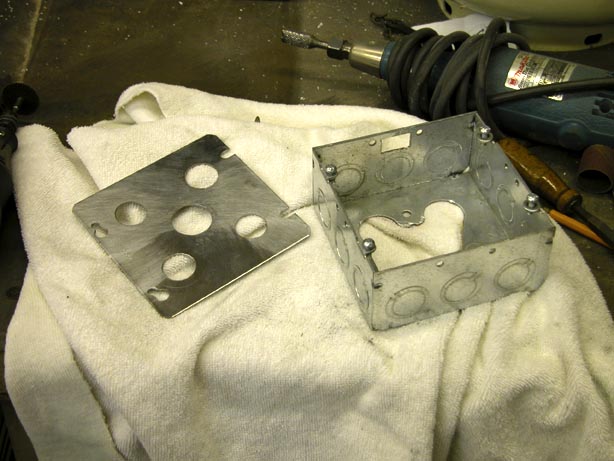
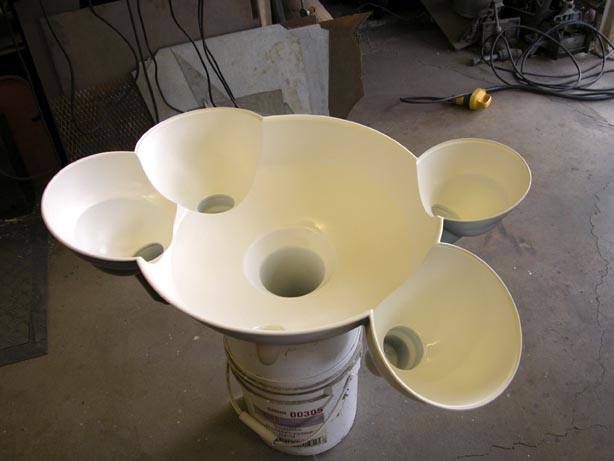
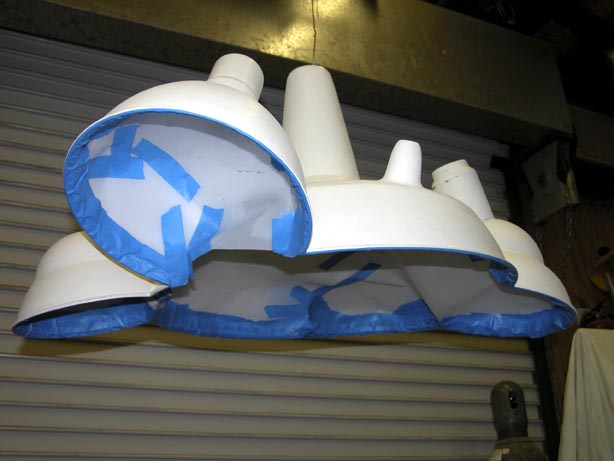
The first photo shows the raw ingredients in their approximate final layout. Captions appear above each photo.
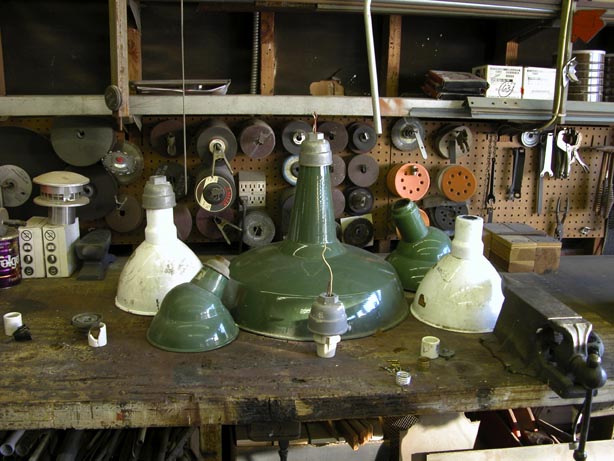
By trial and error I fit the first two units together. I used a small grinder with a thin cut off wheel to carve out most of the section. Dremels chucked up with sanding drums and disks were used to finish off the rest of the cut.
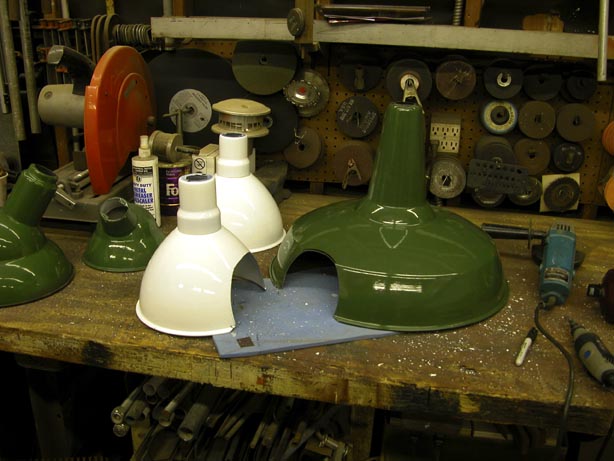
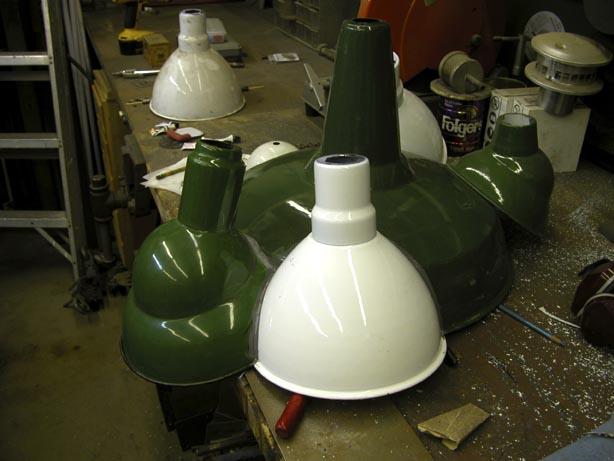
Here are the first two units dry fit together. I spent a lot of time with these two not knowing if the tolerences needed could be looser than I thought. Eventually I did become a bit looser on the cuts.
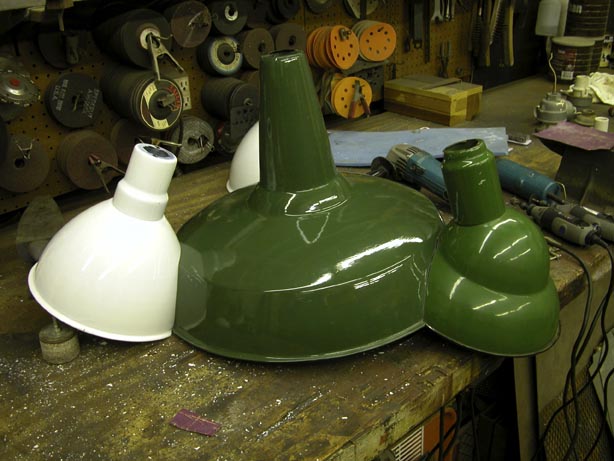
You can see the third unit as I fit it between the second unit and the main reflector. This portion was more difficult than the others because it required fitting three units together and none were permanently joined together.
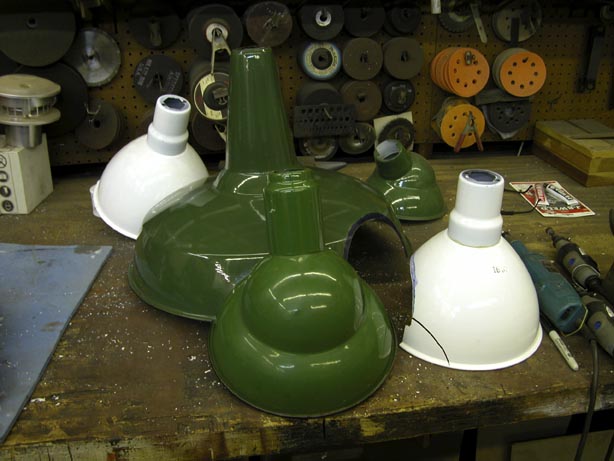
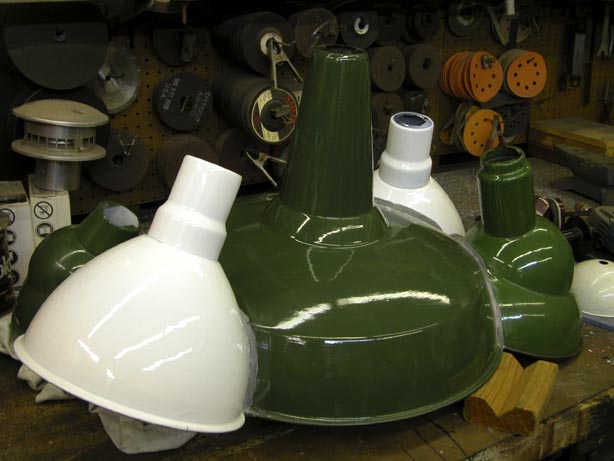
To solve the fitment problem I decided to join one of the units to the main reflector. Now I could cut with more precision. I used JB Weld to make the connection. Originally I considered welding the reflector pans together but realized the heat would distort them too much and because some of them were porcelain, the heat would create another mountain of problems. I like the original JB Weld for this use because its open time meant it would flow nicely and would take a minimum amout of sanding to finish.

The second and third units joined to the main reflector. The red handled icepick is propping up the white reflector into position. I use a lot of these highly technical tools in my work.
Another view of the first two units attached.
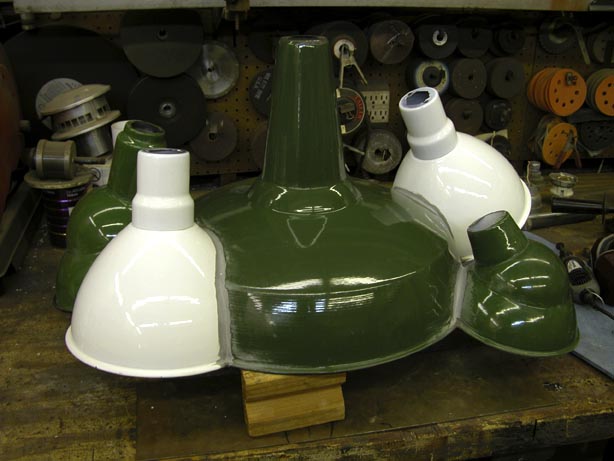
The first unit is now joined to the main reflector and the fourth unit freshly joined by JB Weld and taped into position. Notice its support?

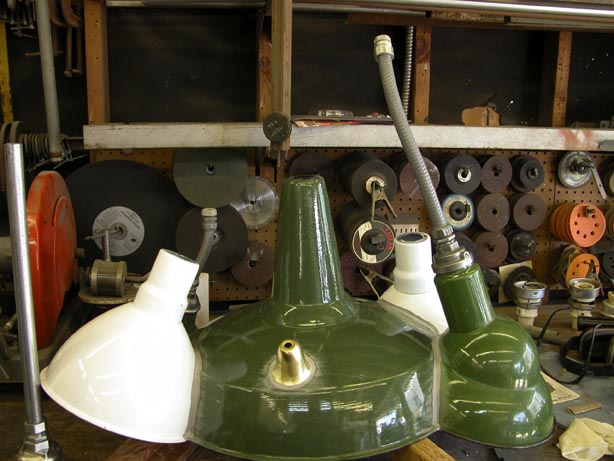
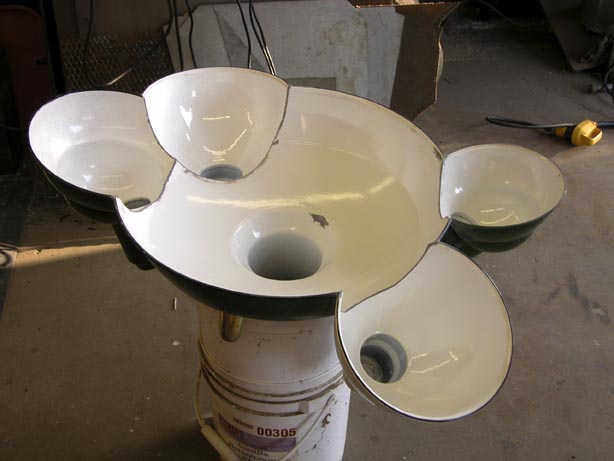
This photo shows all reflectors joined together. I thought that would have been the hardest part of the process.
It turned out I was wrong. At this point I decided to add a "night light" to the project.
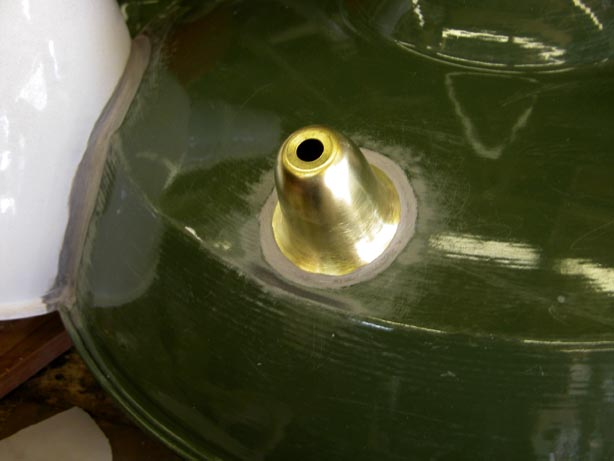
You can see the hole I cut for the bell shaped night light candelbra socket. This hole had to be extremely precise. The bell had to fit exactly into the main reflector because I wanted both parts to become one continous surface.
See how perfect the bell fits?
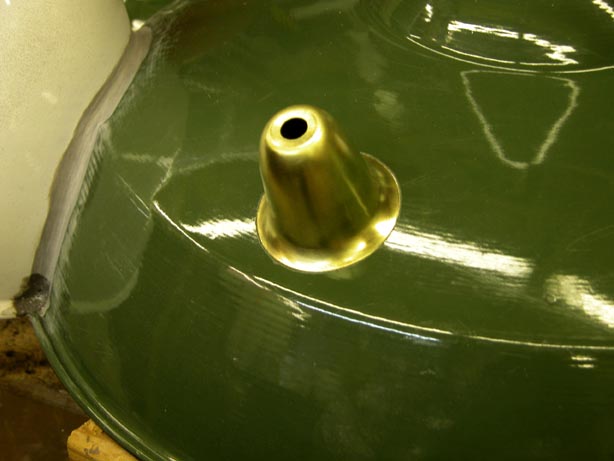
This is how the bell looked after sanding the JB Weld.
Also notice I started mocking up the socket housings.
These three had the same socket housings. I made adapters for the conduit to housing connections. The connectors had threads and the housings were slip fit. I turned the connectors on my lathe to fit and then used JB Weld (again) to secure them to the housings. The tall one on the right is 3/4" EMT and is designed to be used for the main reflector pan.
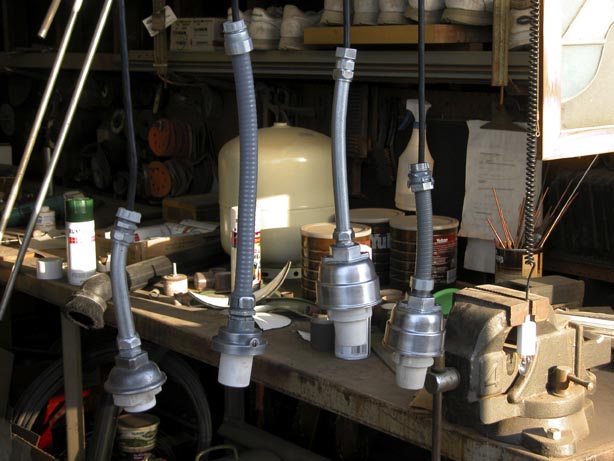
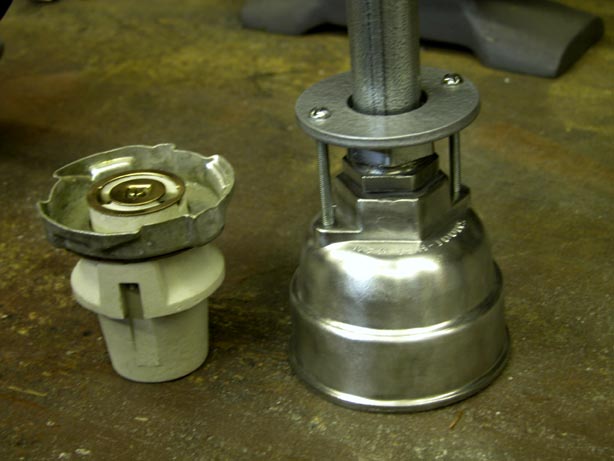
These are the finished socket housings including the night light (on the right).
A blurry close up of the main socket housing and socket. Notice the ring clamp adding a bit more security.
This j-box is the mounting point for the dining room light. The first thing I did was add two more screw connections for a stronger mount. The upper left and lower right screw holes came with the plate. I added the other two. The one in the upper right needed to be offset so the original openings would clear when rotated into position.
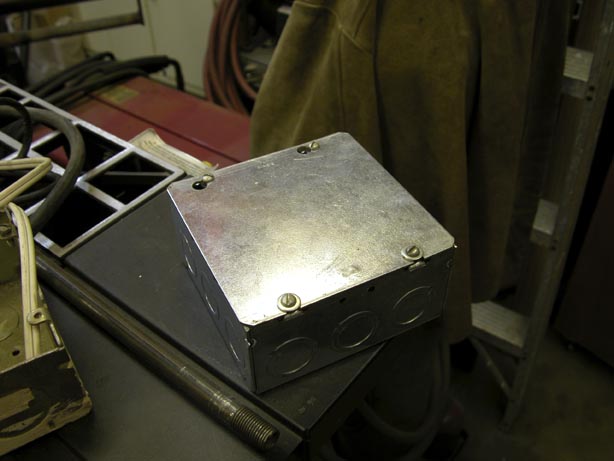
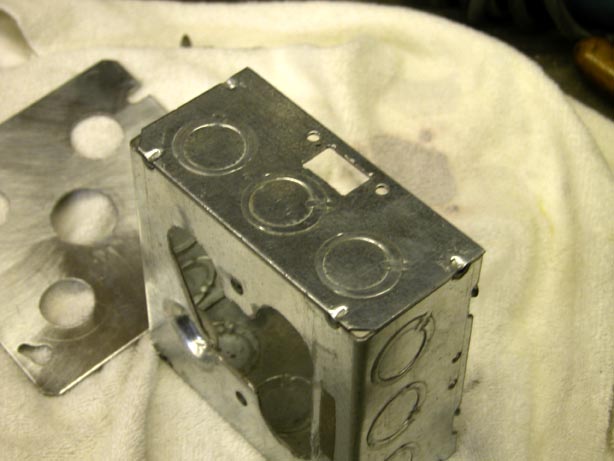
Holes were cut into the plate for the main reflector pan (the one in the middle) and the four outside reflectors (the four smaller ones in the corners). The inside bottom of the j-box also had to be cut for wiring to pass through. I retained two stock holes to mount the box to the ceiling box. The small rectangular opening in the side of the box is for the outlet for the night light connection.
Here's a closer view of the night light coutlet opening and wiring clearance. The two holes are where the j-box mounts to the ceiling box.
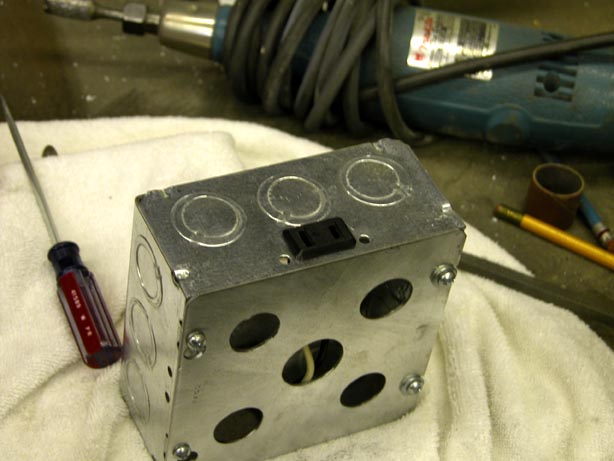
A view of the j-box with the night light outlet.
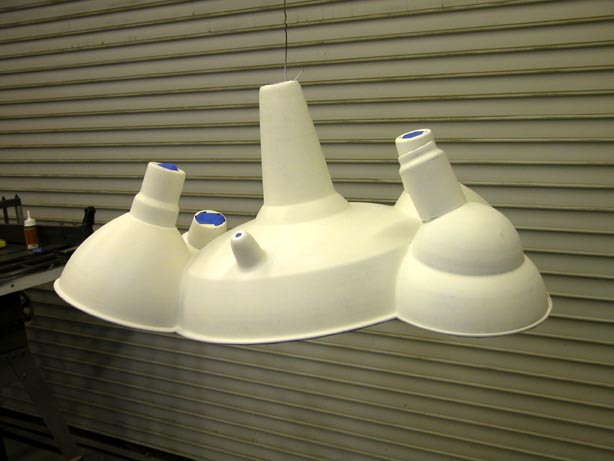
This photo shows the completed inside of the light ready for priming.
Freshly primed.
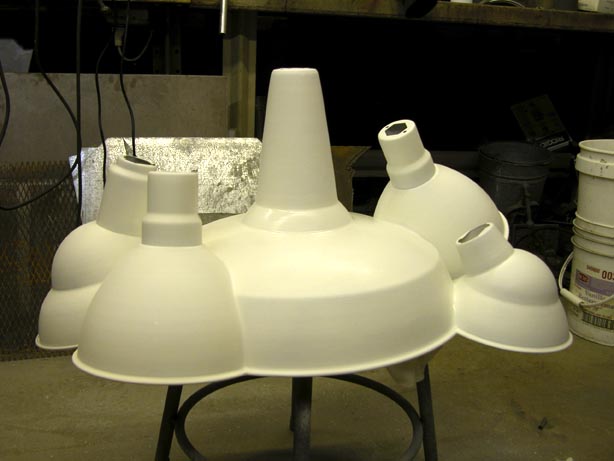
Here's the outside freshly primed.
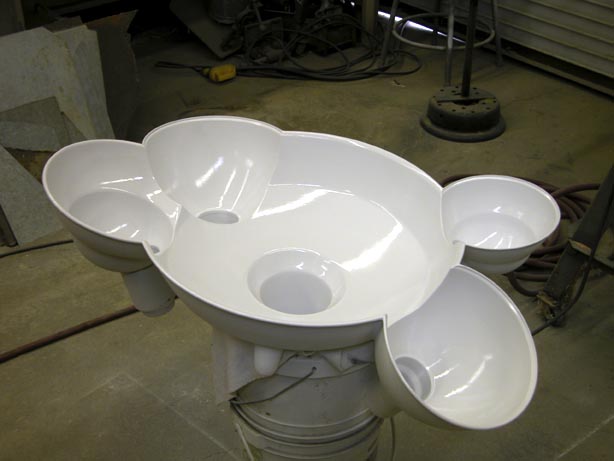
And here's the inside freshly painted gloss white. The paint used was Rustoleum from a can. It's good paint but it takes two days to cure and you can add coats within an hour or after two days. I had to do a couple of touch ups because of the many undulating surfaces and had to wait about an extra week worth of drying time.
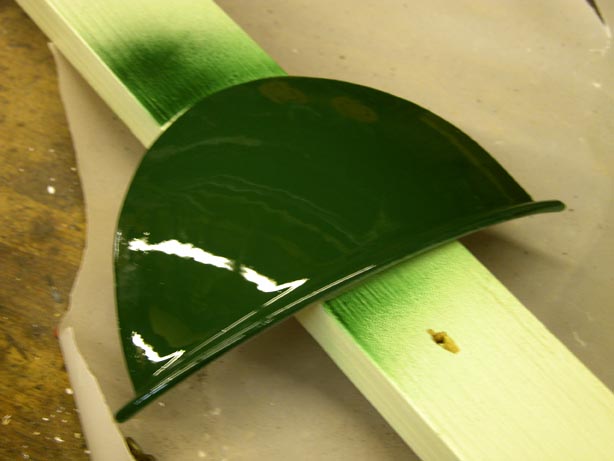
This is an example of the color and finish. I used one of the cutouts as a test piece. It's also Rustoleum and it presented the same drying time problems as the white on the inside.
The inside needed to be masked to prevent overspray. No matter how careful I was I still got a little on the inside. The blue tape also created a sharp line to delineate the inside from the outside. Again, no matter how careful I was a number of areas had to be retouched to clean up some paint which crawled under the tape. This was done by hand with a brush.
I even masked the top openings.
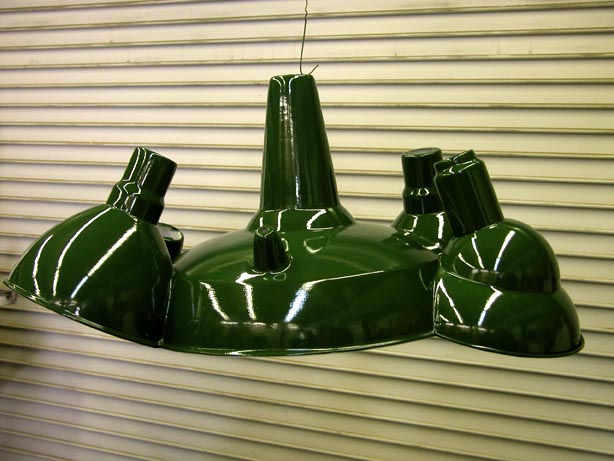
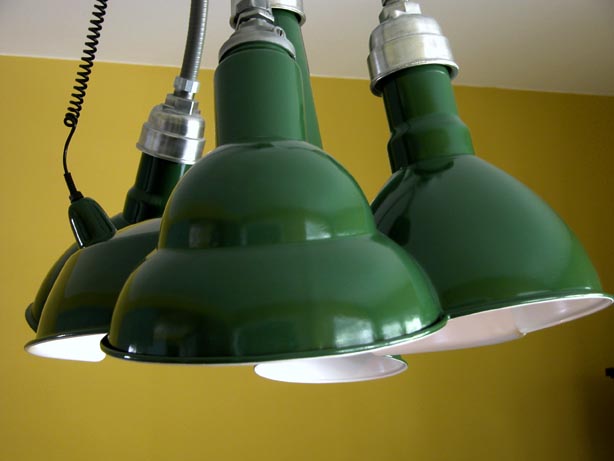
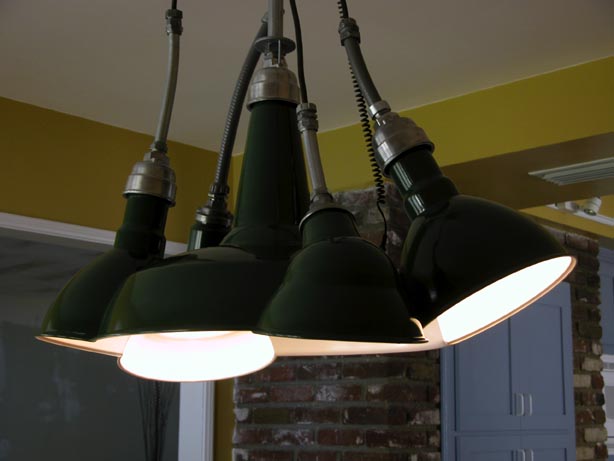
Hunter Green in all its glory.
The night light socket connection.

Making sure the socket housings work as planned.
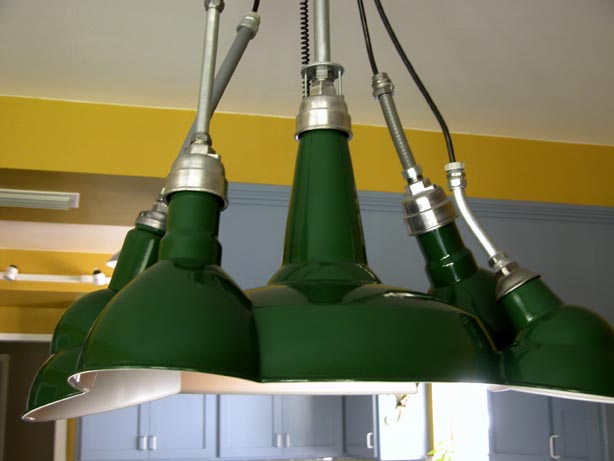
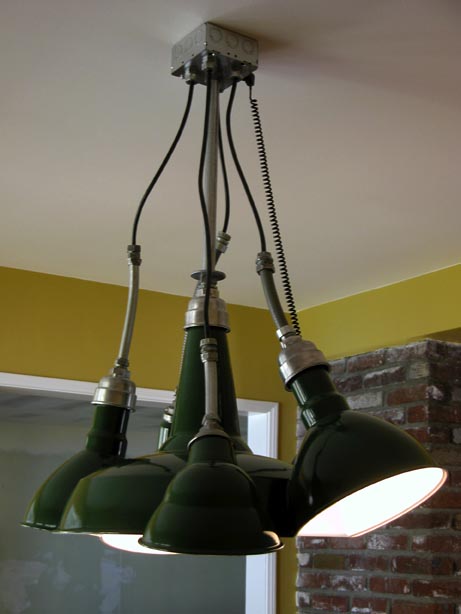
This is the first time the entire dining room light is assembled. It's pretty much how I envisioned it. Quite the monster. Installing it will also be a challenge.
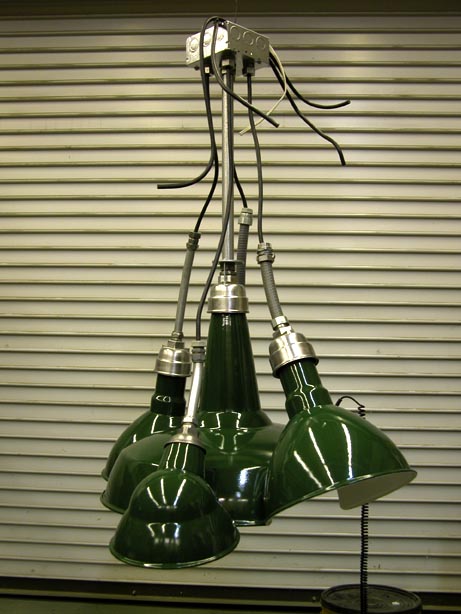
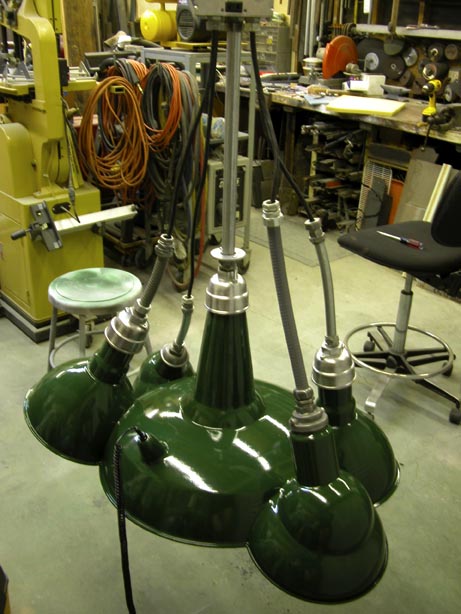
Here's another view of the monster from above.
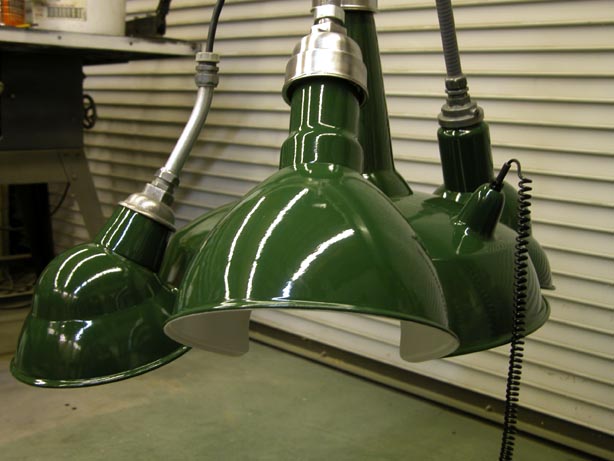
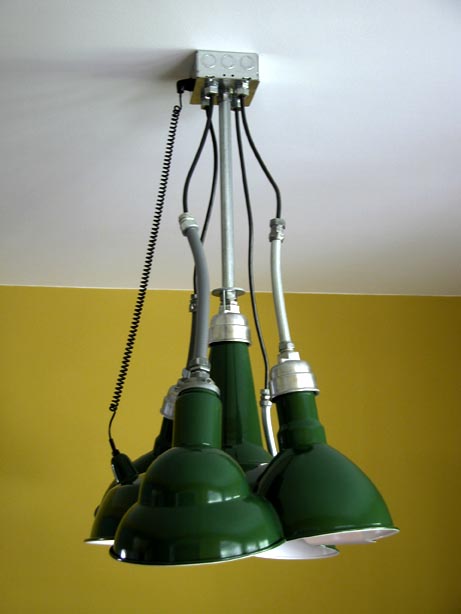
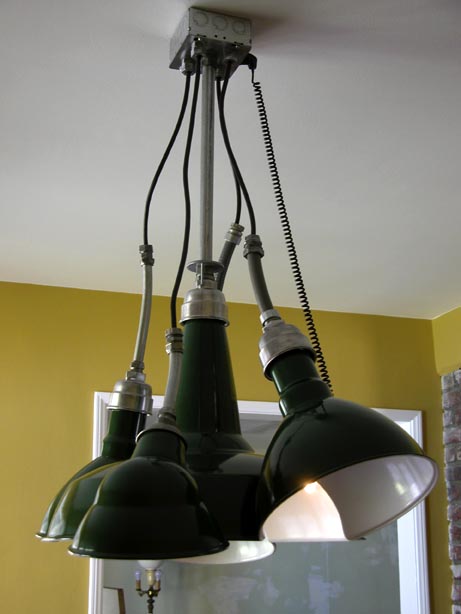
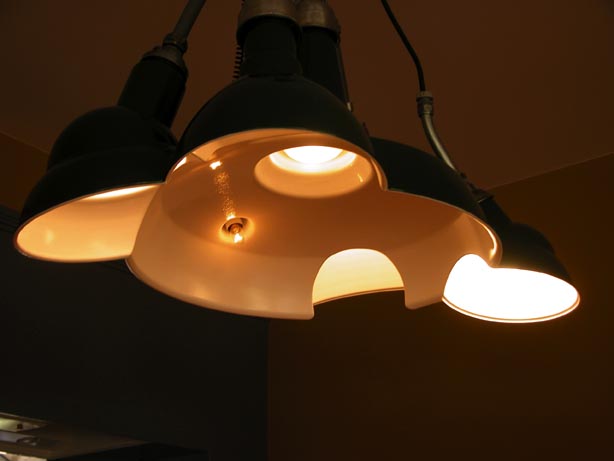
Tah Dah! Wow, what a light. I think it looks great. But that's just my opinion. Which is good because I'm the client. And I'm very satisfied. I think I'll give myself a raise. Notice the way the night light is connected?
A close up.
Another close up.
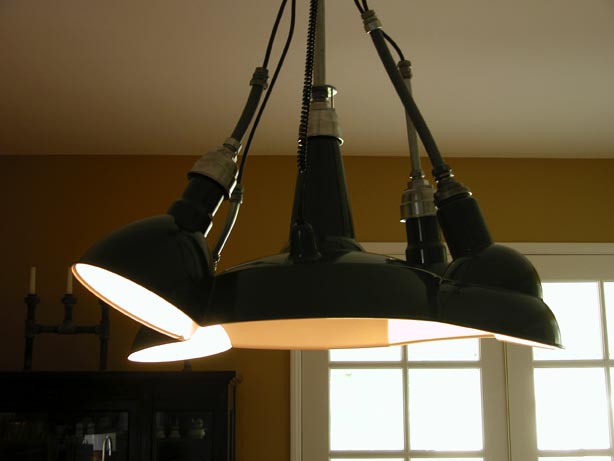
You can just make out the night light glowing from below.
Cool view of the canyons.

Bright lights. I almost need some exterior lighting to see the light.
I'm very pleased.
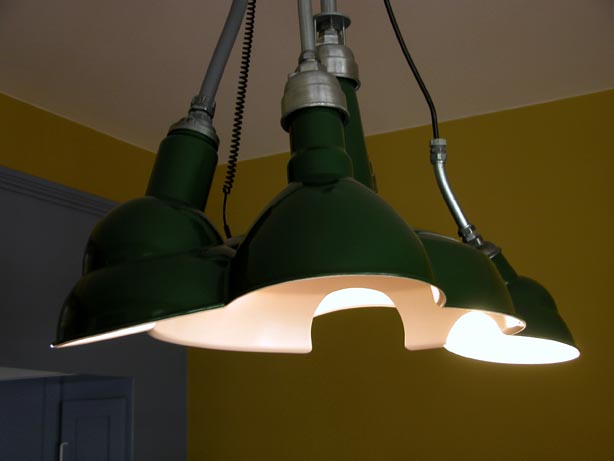
Ooh, moody.
What else can I say? It's nice to see a project turn out as imagined. The always constant uncertainty with any unique project is banished upon the successful completion of that project. And I would consider this one a success.
Beautiful.
| Dining Room Light |
| Collection of:
Artist Northridge , CA |
| 2009 36" x 18" x 36" |
| Warehouse reflector lights, electrical parts, paint |